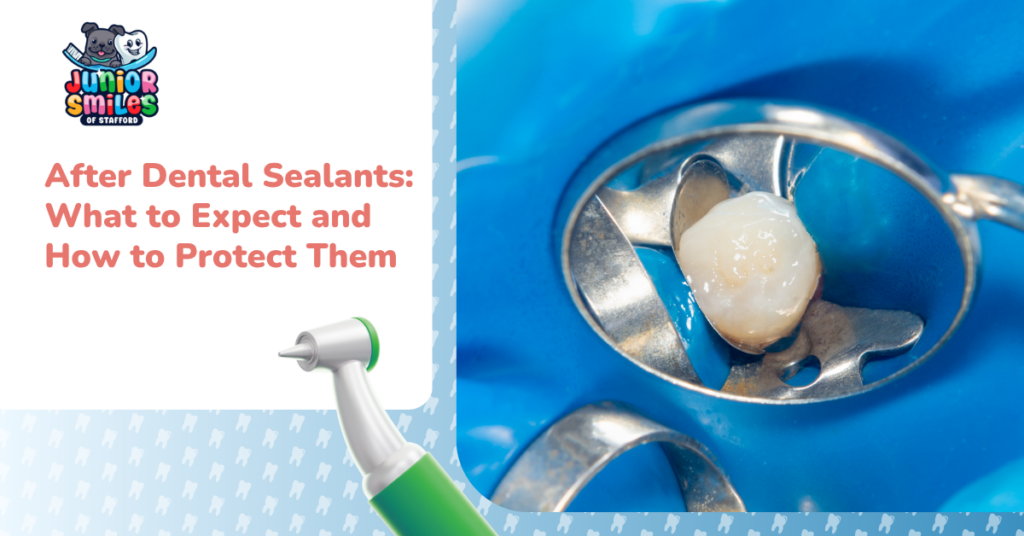
The procedure is complete, and your child’s molars are now shielded by a thin, protective layer of resin. However, in pediatric preventive care, the application of dental sealants is not a “one-and-done” transaction; it is an investment in your child’s long-term oral health.
According to the Centers for Disease Control (CDC), sealants protect against 80% of cavities for two years and continue to protect against 50% of cavities for up to four years. While the clinical application is a vital first step, the ultimate ROI avoiding white (composite) fillings or more invasive dental crowns depends entirely on how the sealant lifecycle is managed at home and monitored during professional visits.
This guide provides the framework for that maintenance, moving from immediate post-operative care to long-term “investment protection.”

What Your Child Will Feel in the First 24 Hours
The transition from the dentist’s chair to the dinner table is usually immediate, as sealants are cured instantly with a specialized light.
1. The “High” Bite (Occlusion)
It is common for a child to report that their teeth feel “tall” or that their bite feels “off.” This is because the sealant adds a microscopic layer to the chewing surface. In most cases, this sensation resolves within 24 to 72 hours as the material naturally “wears in” through normal chewing.
2. Texture Awareness
The sealant fills the deep pits and fissures of the molars, making the surface feel unusually smooth to the tongue. For some children, this change in “mouth-feel” can be distracting. Reassure them that this smoothness is exactly what prevents bacteria from hiding in the grooves.
3. Normal vs. Abnormal Sensitivity
While the etching process used to bond the sealant is non-invasive, minor gum or tooth sensitivity may occur.
- Normal: Mild awareness of the tooth for 48 hours.
- Abnormal: Sharp pain, inability to close the mouth fully, or sensitivity that increases after the 72-hour mark.
If discomfort persists beyond three days, it may indicate a “high spot” in the material that requires a simple, two-minute adjustment at our office. Persistent or worsening pain warrants a call to our office to address potential emergency dental concerns.
The First 48 Hours: Foods and Habits to Avoid
While sealants are durable, the bond is most vulnerable to mechanical force during the first two days. To ensure the margins remain sealed, adhere to the following “No-List”:
- The “Stickies”: Taffy, caramels, and fruit leathers can exert enough suction to pull a new sealant away from the tooth.
- The “Hards”: Hard pretzels, corn kernels, and especially chewing ice. Ice is the primary enemy of sealants; the thermal shock combined with the hardness can cause the material to chip or debond immediately.
- Non-Food Items: Remind children not to chew on pens, fingernails, or plastic toys, which can degrade the sealant margins over time.
How to Make Dental Sealants Last as Long as Possible
A well-maintained sealant can last between 5 and 10 years. Longevity is a direct result of product compatibility and mechanical protection.
Product Compatibility
Not all oral care products are sealant-friendly. High-abrasion whitening toothpastes, which often contain larger silica particles, can prematurely “sand down” the sealant material. We recommend standard fluoride toothpastes and professional fluoride applications to strengthen the surrounding enamel that the sealant does not cover.
Read more: Silver Diamine Fluoride: The Cavity Treatment in Stafford VA
Brushing Technique
While sealants protect the chewing surface, the “margin” (the edge where the sealant meets the natural tooth) is where bacteria try to infiltrate. Use a soft-bristled electric toothbrush on a “sensitive” setting. Circular motions are more effective at cleaning the fissures around the sealant than horizontal scrubbing, which can eventually lift the edges.
The Role of Bruxism (Grinding)
If your child is a nocturnal grinder (bruxism), the lifespan of their sealants may be cut in half. The constant friction of tooth-on-tooth contact can wear resin sealants down to the natural tooth structure within 2-3 years. In these cases, we may discuss a custom nightguard to protect the dental investment.
How to Tell if a Sealant Is Wearing Down or Has Chipped
Parents are the first line of defense in “visual monitoring.” You do not need a clinical eye to spot the early stages of sealant wear. Use this 5-point visual inspection guide every few months:
- Texture Check: Run a clean finger or the child’s tongue over the molar. It should feel smooth. If you feel a “catch” or a sharp edge, the margin may have lifted.
- Color Uniformity: Most sealants are opaque white or slightly tinted. If the molar’s deep, dark grooves are becoming visible through the sealant again, the material is thinning.
- The “Grey Shadow”: This is a critical indicator. If you see a grey or dark shadow underneath a sealant that looks otherwise intact, it may indicate “leakage.” This happens when the bond fails at the edge, allowing bacteria to seep under the plastic.
- Complete Loss: If a tooth that once looked white and smooth now looks like its neighbors (with deep, visible pits), the sealant has likely fallen off.
- Chipping: Look for small “pits” in the sealant material itself, often caused by biting down on something hard.
When Dental Sealants Need to Be Reapplied
Reapplication is a normal milestone in the preventive lifecycle, not a sign of failure. Sealants typically need “touch-ups” or full reapplication for three reasons:
- The Eruption of Second Molars: As your child grows (usually around ages 11-13), new molars will emerge that require their own initial sealing.
- Natural Wear and Tear: Even with perfect care, the material is a plastic resin that eventually wears down from the thousands of pounds of pressure exerted during chewing.
- Dietary Changes: A shift toward a more acidic diet (sports drinks, sodas) can chemically degrade the bond between the sealant and the enamel faster than a neutral-pH diet.
During thorough oral health assessments and dental development monitoring, your pediatric dentist will use a tool called an “explorer” to physically test the margins of each sealant. If the tool “tugs” at the edge, it’s time for a reapplication to prevent a cavity from forming in that gap.
Read more: Developmental Milestones: A Stafford Parent’s Guide to Your Child’s Orthodontic Journey

Making the Most of Every Checkup After Sealants
To ensure your child’s sealants deliver their full value, consistency is key. Maintaining a “dental home” where your child’s history is known allows the clinical team to track wear patterns over time.
During semi-annual cleanings and your regular dental visit, the focus shifts to “integrity testing.” We dry the tooth thoroughly to look for the “grey shadow” mentioned earlier and check for any micro-fractures.
Questions to ask your pediatric dentist at the next visit:
- “Are the sealant margins still tight, or is there any sign of leakage?”
- “Based on the current wear, how many more years of protection do we likely have left?”
- “Is my child’s brushing technique effective at cleaning the edges of the sealed area?”
By staying proactive and viewing sealants as a managed clinical asset, you can effectively navigate your child through their most cavity-prone years without the need for more invasive restorative work. When you are ready to talk about the status of your child’s sealants, your pediatric dentist can walk you through the current state of their protection at your next routine visit.